


Master the Craft: Step-by-Step Guide on How to Fix Gutters
When was the last time you inspected your gutters? These crucial components protect your home from water damage. Yet, many homeowners ignore them until problems arise. Water spilling from your roof might seem dramatic, but it’s a common issue. Learning how to fix gutters now can save time, money, and stress. With proper guidance, gutter repair becomes a manageable DIY project. In this guide, we will cover every step, from diagnosis to repair, so you gain confidence and mastery.
Understanding the Importance of Well-Maintained Gutters
Gutters are more than decorative—they prevent water damage. Rainwater directed away from your foundation protects landscaping and siding. Neglected gutters can cause pooling around your home and lead to costly repairs. Overflowing gutters may stain walls or trigger mold growth. Moisture can damage wood trim, fascia boards, and interior drywall. By understanding their importance, you’ll be motivated to follow this guide on how to fix gutters and maintain your home investment.
Tools and Materials Needed for Gutter Repair
Sturdy Ladder: Use a ladder that safely reaches gutters without leaning on them.
Protective Gear: Gloves and safety goggles protect hands and eyes from debris.
Cleaning Tools: A scoop, garden trowel, or wire brush removes debris and rust.
Sealants and Patches: Silicone sealant and metal flashing patches repair leaks effectively.
Additional Fixtures: Hangers, brackets, tape measure, chalk line, and leveling tools ensure proper slope and alignment.
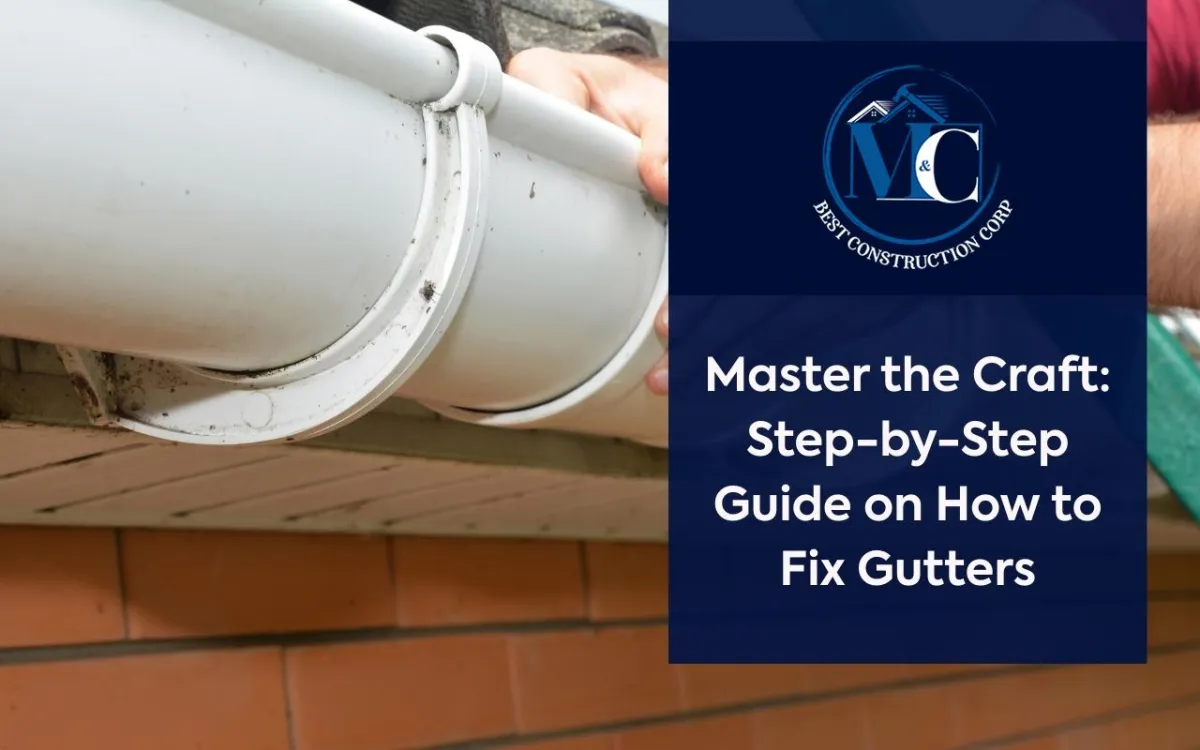
Step 1: Inspecting Your Gutters for Issues
Begin with a thorough inspection from the ground. Look for sagging, misalignment, or rust streaks. Check for freeze-thaw damage like cracks or warped sections. Take notes for later repair. Climb the ladder safely to inspect interiors. Run your hand along the bottom to feel soft spots. Examine edges for corrosion. Ensure downspout screws are secure. Documenting these issues sets a solid foundation for how to fix gutters correctly.
Step 2: Clearing Debris and Blockages
Clogged gutters cause overflow and water damage. Remove leaves, twigs, and moss with a scoop or trowel. Flush each gutter section with a garden hose to check water flow. Use a plumber’s snake for stubborn downspout blockages. Avoid damaging interior walls. Ensure cleaned sections are leak-free. Proper debris removal is the cornerstone of gutter maintenance and a key step in how to fix gutters.
Step 3: Repairing Leaks and Holes
Leaks often occur at seams or end caps. Clean surfaces before sealing. Apply silicone sealant for small holes and smooth evenly. Larger holes require a sheet metal flashing patch with roofing cement. Press and seal edges thoroughly. Test water flow after curing. Correctly patched leaks prevent recurring problems and demonstrate proper how to fix gutters techniques.
Step 4: Adjusting Slope and Realignment
Correct slope directs water toward downspouts. Ideal pitch is 1/16 to 1/8 inch per foot. Use a level and chalk to mark adjustments. Loosen hangers slightly to reposition gutters. Replace worn brackets or add new ones spaced evenly. Proper slope and alignment reduce sagging and improve drainage efficiency.
Step 5: Installing Gutter Guards for Future Protection
Gutter guards minimize debris buildup and reduce cleaning frequency. Mesh screens, foam inserts, and reverse-curve covers are common types. Choose a design based on local tree coverage and rainfall. Measure each section and install according to manufacturer instructions. Test water flow after installation. Installing guards makes learning how to fix gutters less frequent. For professional gutter services, visit our services page.
Final Checks and Maintenance Tips
Test gutters with a hose, watching for leaks or pooling. Tighten hangers and re-seal patched areas if needed. Routine maintenance prolongs lifespan. Clean twice a year or more if trees are nearby. Inspect after storms for damage. Staying proactive prevents emergency repairs and maintains reliable drainage.
Common Mistakes to Avoid During Gutter Repair
Neglecting Safety: Always use a sturdy ladder and protective gear.
Skipping Debris Clearing: Sealant won't adhere without cleaning debris first.
Over-Tightening: Avoid denting metal gutters by applying proper pressure.
Using Generic Caulk: Only use gutter-specific sealant for durability.
Improper Surface Prep: Ensure surfaces are clean and dry before sealing.
Enjoying the Benefits of Properly Functioning Gutters
Proper gutters protect your home from water damage and improve curb appeal. Rainwater is directed away, keeping walkways and foundations safe. Less staining, reduced basement risk, and enhanced home value result from effective gutter care. Learning how to fix gutters ensures peace of mind year-round. For additional assistance or professional support, contact our team today.
FAQs
How often should I inspect my gutters?
Inspect at least twice a year, in spring and fall, and after major storms.
Can I fix gutters myself or should I hire a professional?
Minor leaks and debris clearing can be DIY, but extensive damage may require professionals.
What tools are essential for gutter repair?
Sturdy ladder, gloves, safety goggles, scoop, wire brush, sealant, and patches are recommended.
Will gutter guards eliminate all maintenance?
Gutter guards reduce cleaning frequency but occasional inspection is still necessary to prevent clogs.
How do I prevent gutter leaks in the future?
Regular cleaning, proper slope, secure brackets, and timely patching prevent leaks.
Next Steps for Reliable Gutter Maintenance
Implement these steps and enjoy functional gutters for years. Explore our services page for professional support. Consistent care ensures peace of mind and protects your home investment.
